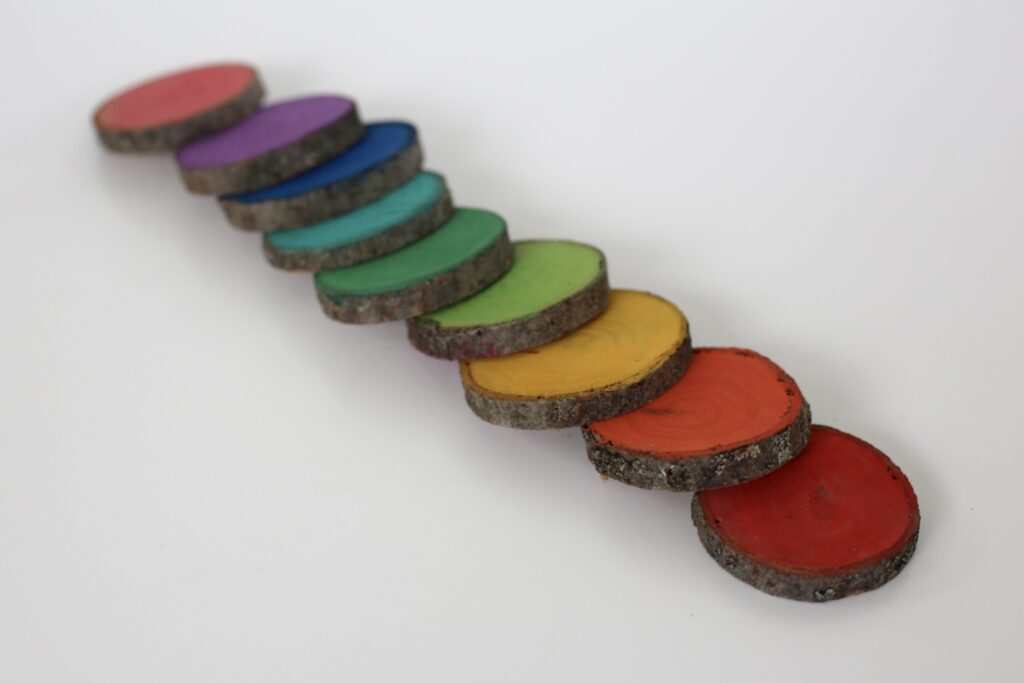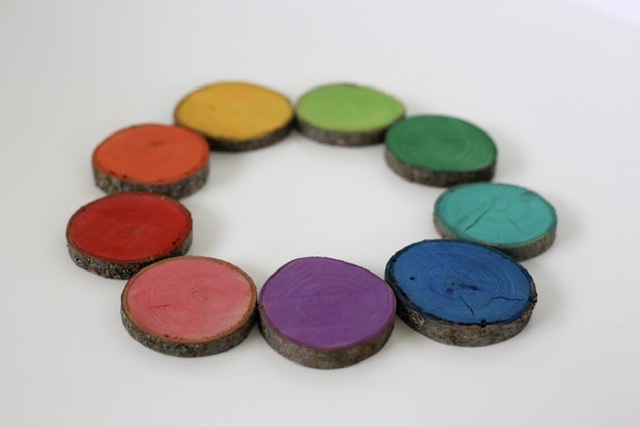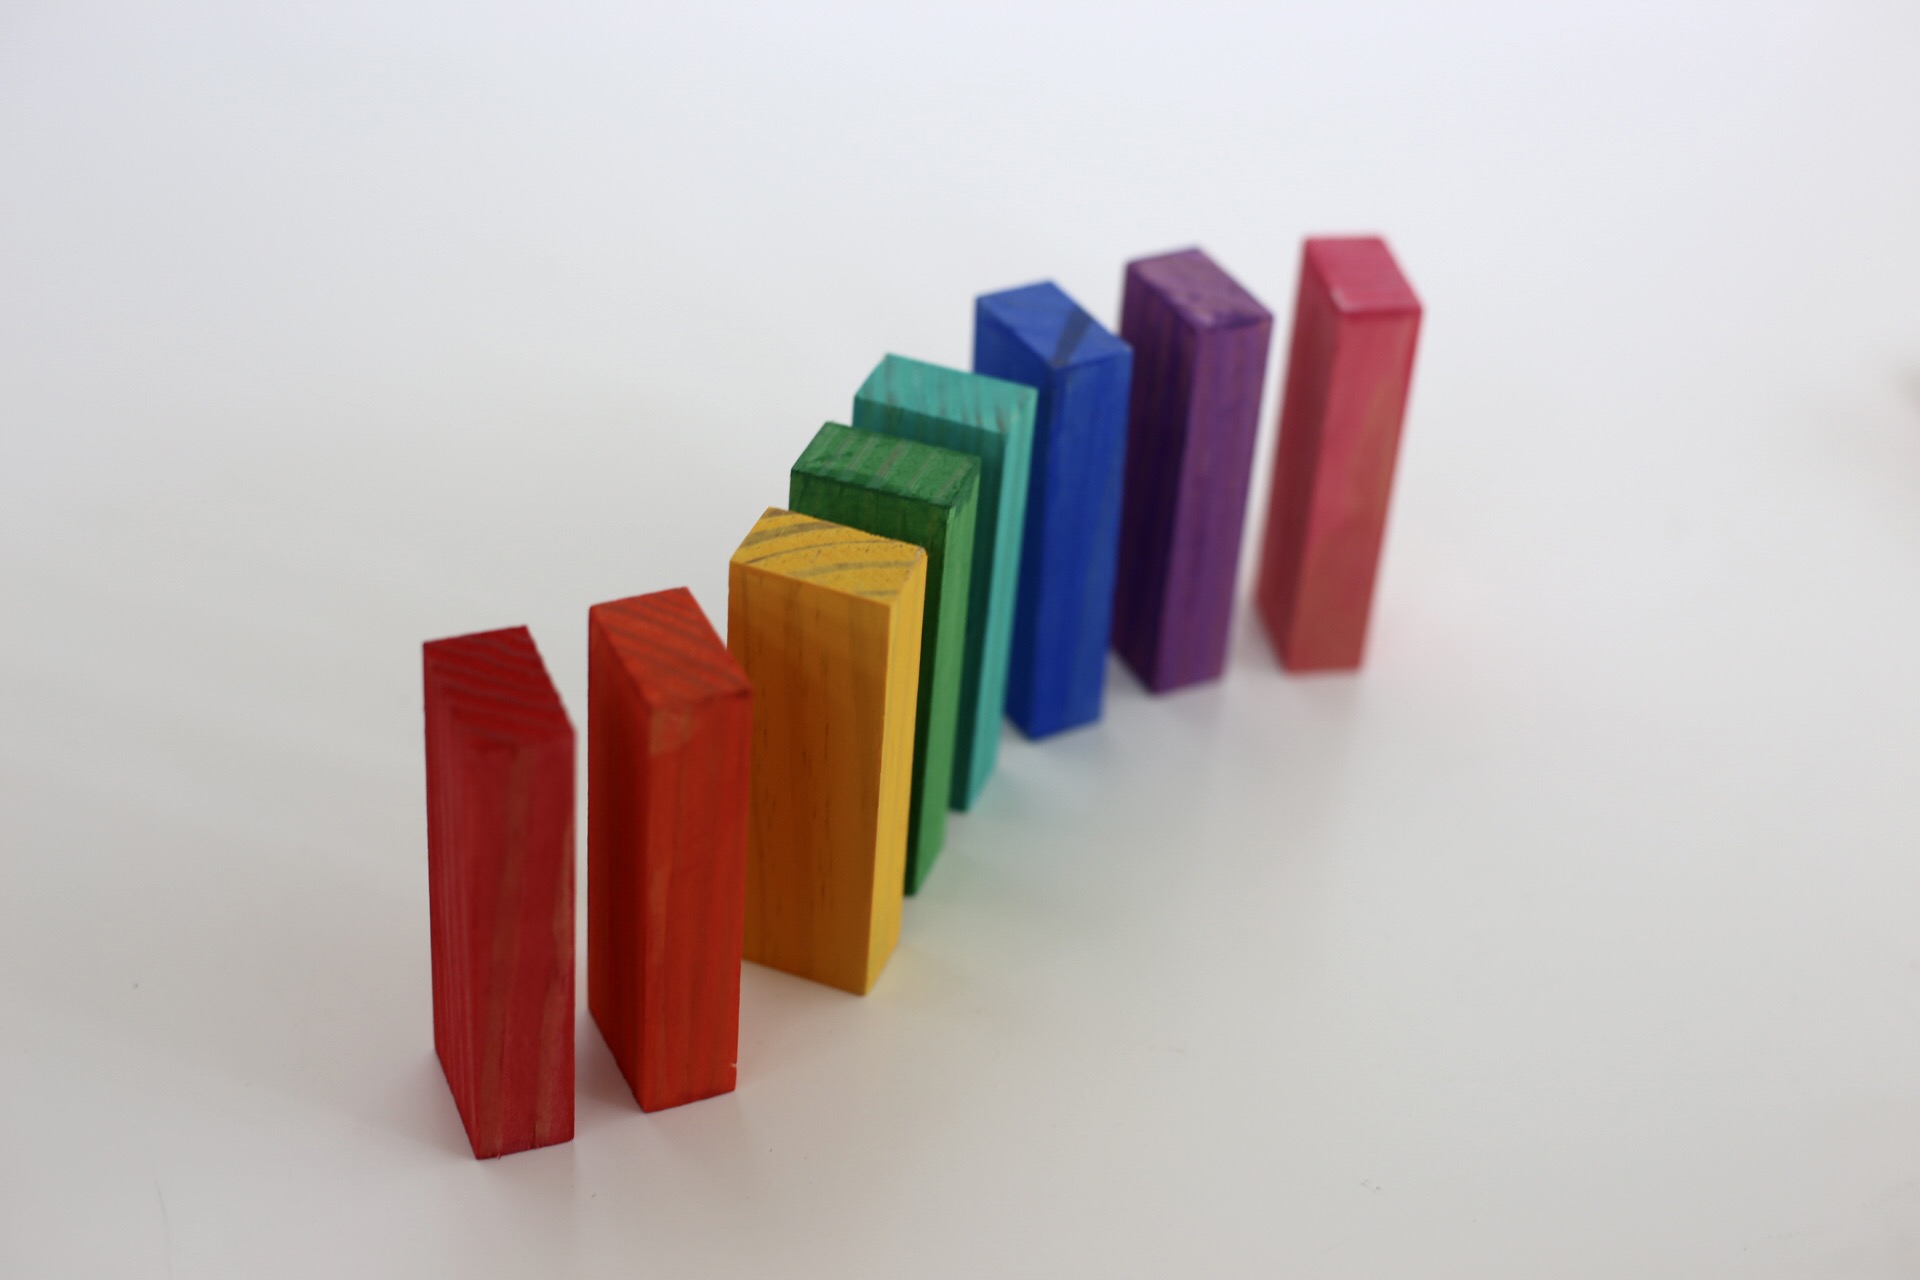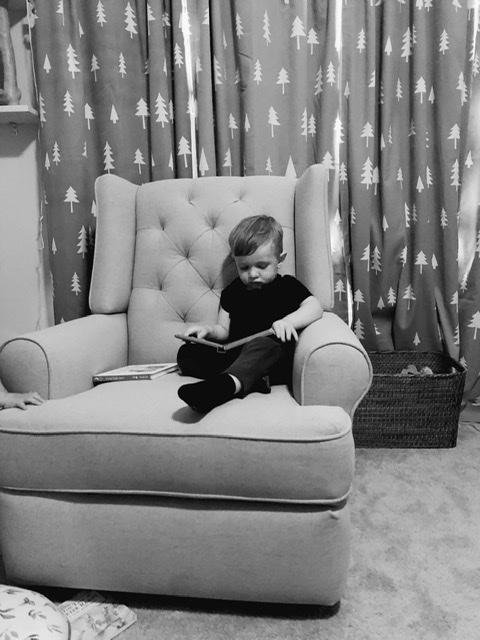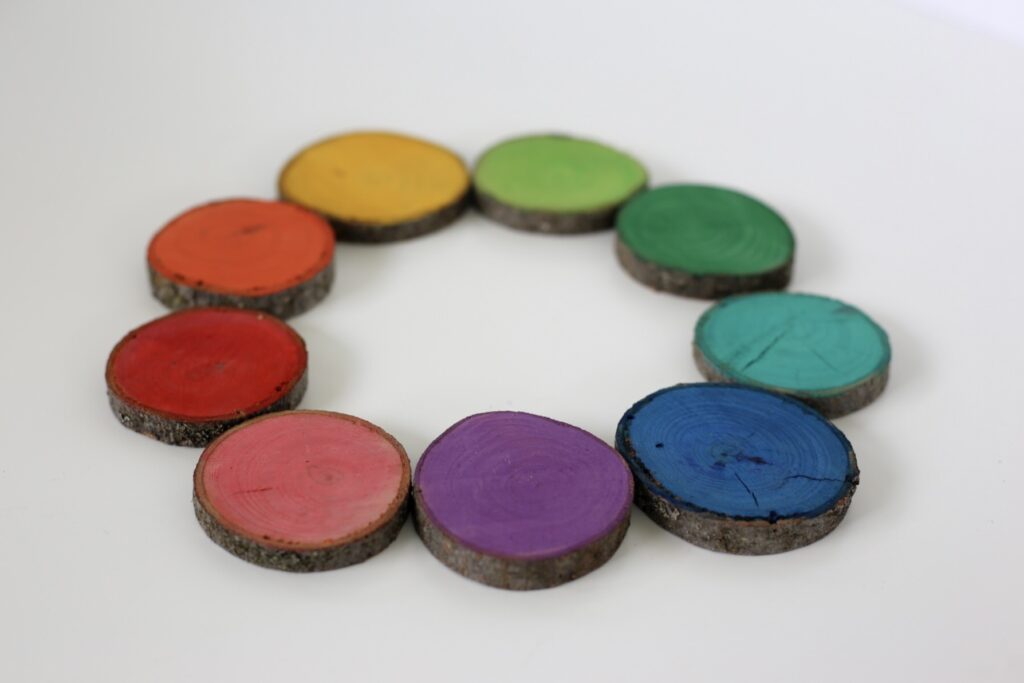
My dad cut down a bunch of logs for me last spring as a set of natural blocks for Graham to play with outside. While he was at it, I had him cut me several of these wooden rounds as well.
It’s not difficult to cut up a log if you’re the sort who feels handy with a table saw, but if you’re not the sort who is comfortable with saws and sharp things and don’t have someone in your life who is, they do also sell wooden rounds at most craft stores.
I just rolled our Christmas tree outside and I’m thinking some more wooden rounds might be a good way to extend its life, since we have most definitely missed all the tree pick up dates.
MATERIALS
- Wooden Rounds
- Acrylic Paint in Assorted Colors
INSTRUCTIONS
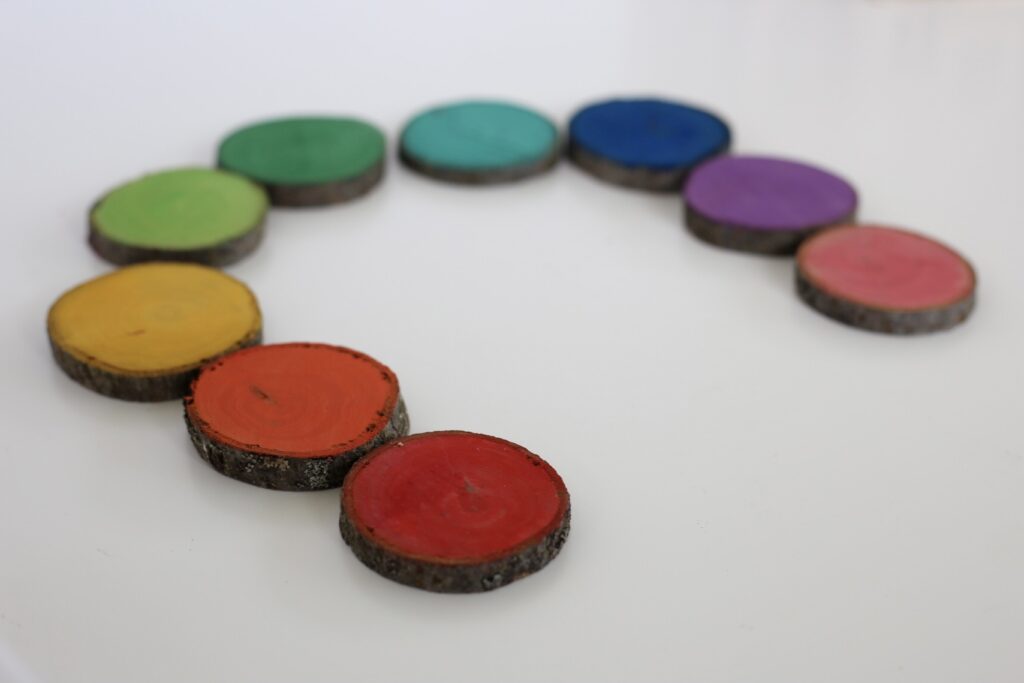
- Once you have your wooden rounds, the process is as simple as painting one side of the rounds in the color of your choice. We chose to do two of each color to use them for color matching.
ACTIVITIES
- Stacking—Or ”blocking” as Graham has been calling it. One thing we’ve found these handy for is early stacking. Graham often had some trouble stacking early on because things toppled so quickly for him. But because these have less height to them, he could stack them a little better.
- Matching/Memory—Their obvious use is for matching. We started with just a few colors in a basket and matches those, then the whole rainbow of colors. One set of colors can be given to the child and another set scattered around the room for them to find the matches. As they get older, the matching can be continued by playing memory with the color rounds.
- Gradient Sorting—As Graham gets older, I intend to extend our set with more colors so that he can practice sorting from darkest to lightest and in so doing hone his skill for deciphering differences and similarities.
