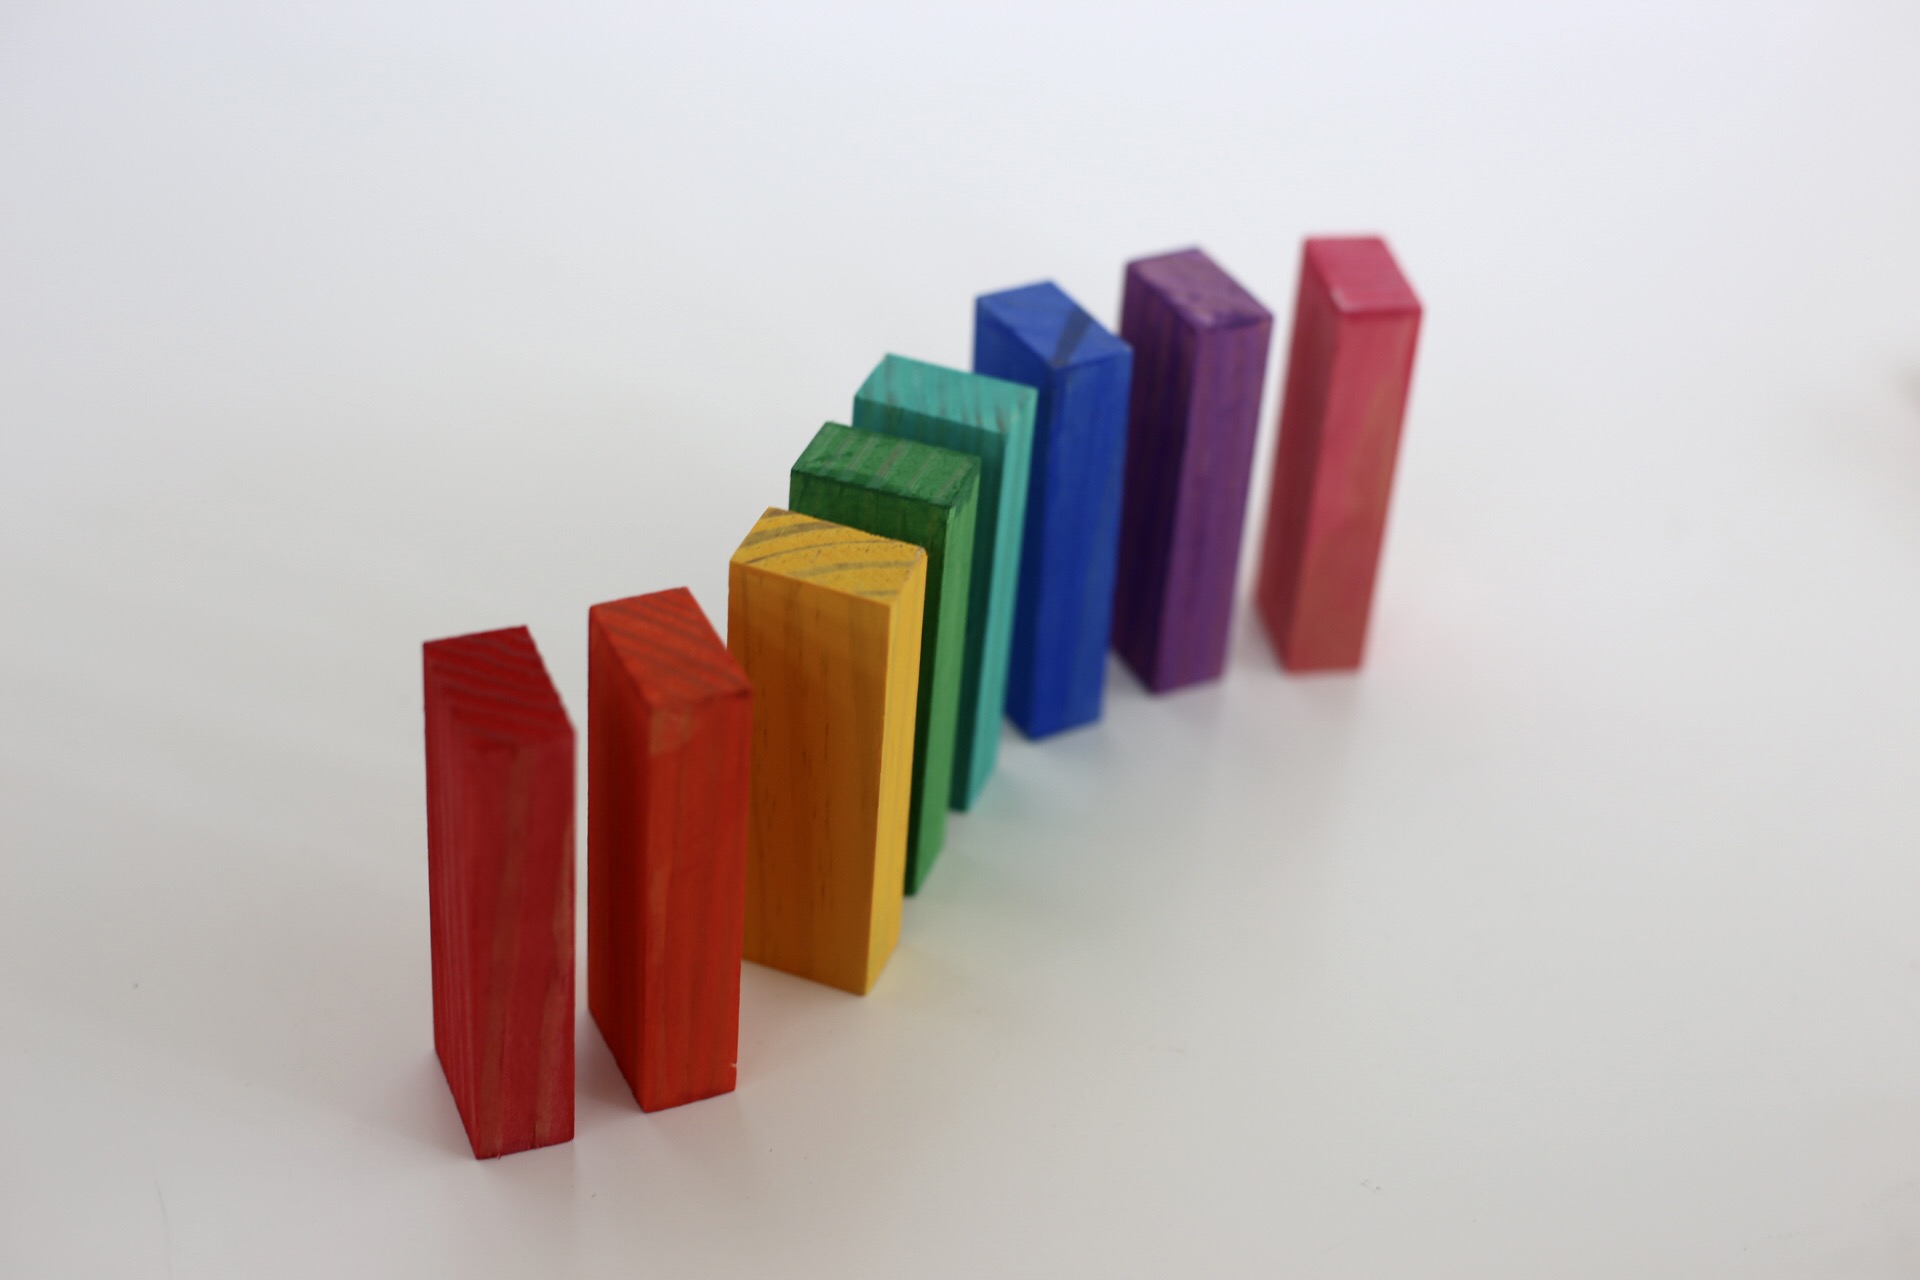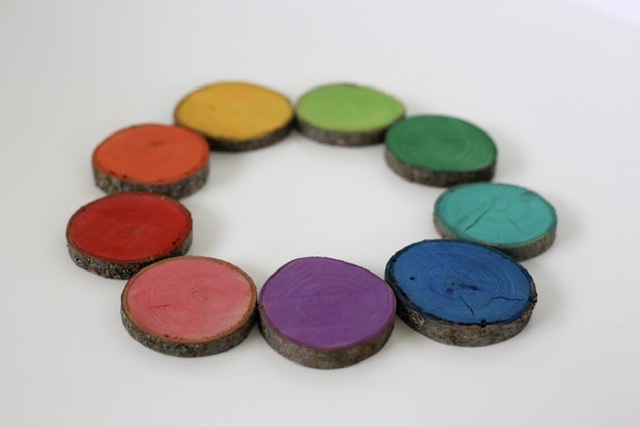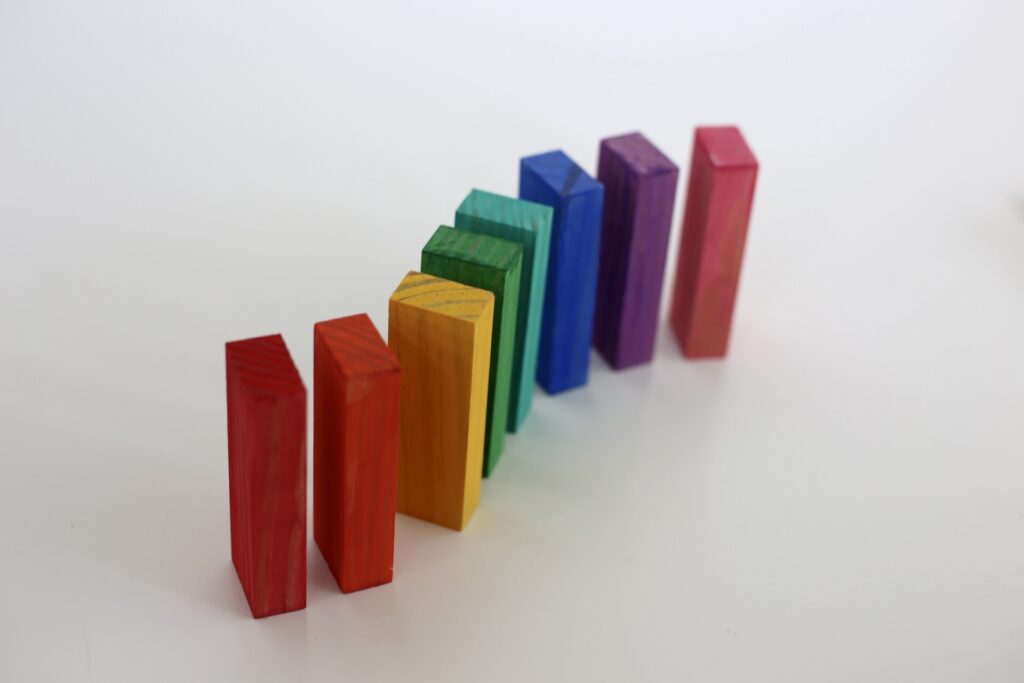
It may come as a surprise to a lot of people who know me, but I actually do love color! However, I am admittedly quite picky about it. When introducing colors to our little one, I wanted them to be vibrant and beautiful. I wanted them to be something I also enjoyed looking at and playing with alongside him. So, this was a fun project to be able to create the shades and hues that I wanted with the remainder of the block set we used for our wooden letter blocks.
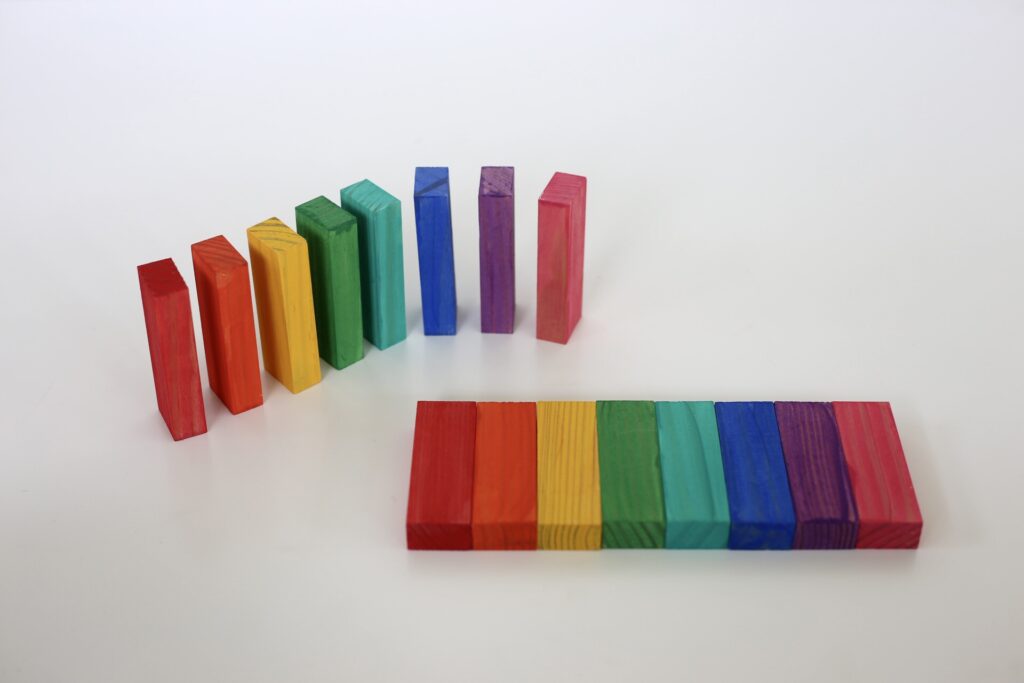
I’d like to expand these colors as Graham gets older to do even further gradient sorting. But for now we’re enjoying them for stacking and tumbling and naming the colors as we go. They’re also a nice option for mixing up a pot of noise in his play kitchen. We made two of each color so it can be used as a matching game as well.
MATERIALS:
- Jenga Blocks/Generic Wooden Tumbling Blocks
- Acrylic Paint in an Assortment of Colors
PROCESS:
- Mix the acrylic paint colors to get the exact shades you wish. I added just a touch of water in order to get the wood grain to show through a bit.
- Paint with two coats.
ACTIVITIES:
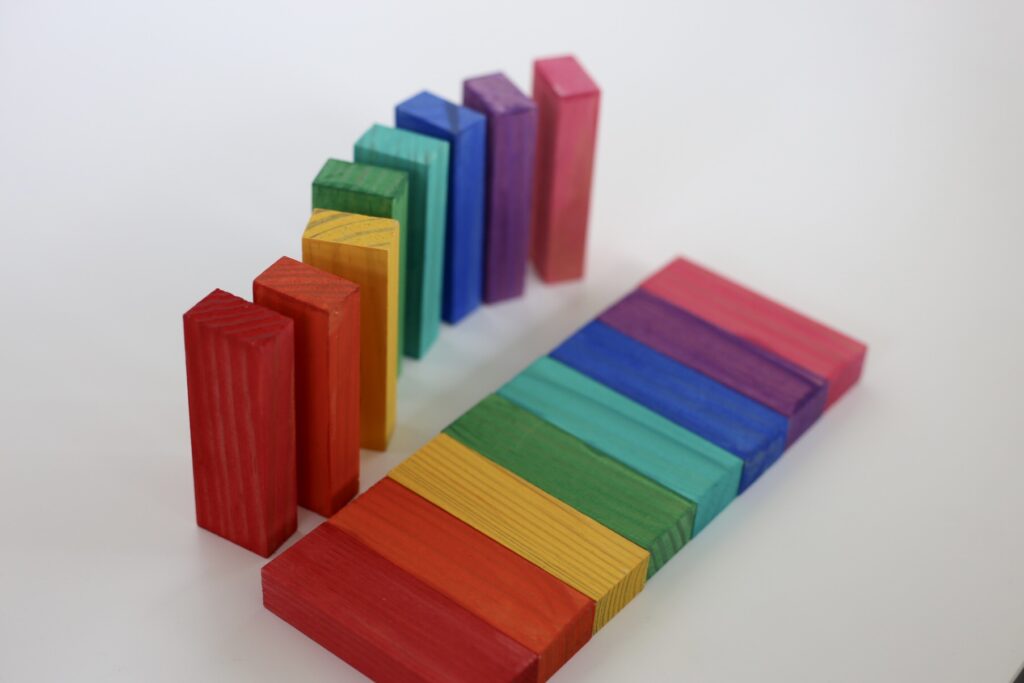
- Color Matching Game—Make two of each color and practice matching the colors with their partners.
- Color Recipes—When you’re painting the blocks, grab a handful of index cards. Paint an assortment of circles on the index cards (5-10 circles). Use them as recipe cards. Grab a pot and spoon and mix up some recipes.
- Blocks—Simply narrate as you play and stack the blocks, intentionally naming the colors. (ex: ”I’m going to put the red one right here.” ”How did that blue one get all the way over there?”)
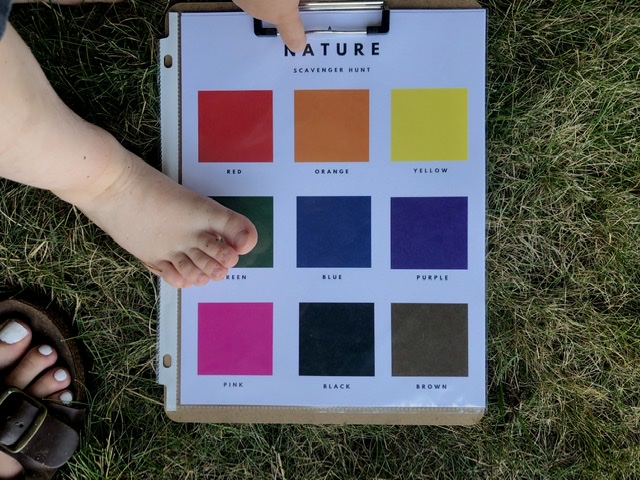
- Scavenger Hunt—Hide the blocks themselves for the child to find. Or offer them a block and ask them to go find something of that color.
- Sensory Play—Add them to a bin of rice. Bury them and allow the child to dig around to find them.
(I would recommend waiting to introduce these until your little one is finished for the most part with the mouthing stage, just because of the paints used.)
